Introduction
This is a step-by-step tutorial on how to make a silicone mold, covering the key points of how to use mold silicone to make a mold. The silicone mold making process only requires these basic knowledge to make a simple object model silicone mold by yourself. If you want to learn the silicone mold making process, it is recommended that you start here to learn how to make a basic mold using liquid silicone raw materials.
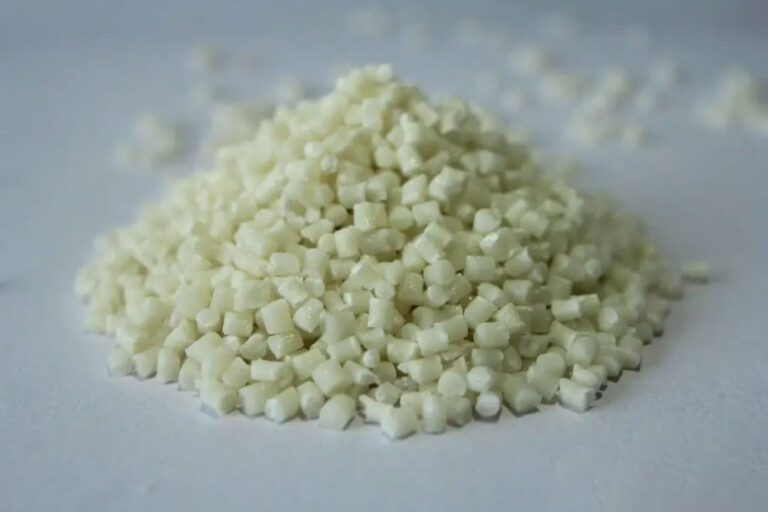
Tools and materials: acrylic sheet, hot melt glue gun and glue strips, mold silicone (with curing agent), release agent, measuring cup, stirring rod, electronic scale, brush.
Step 1: Build the mold frame
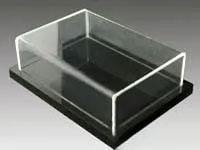
According to the size of the object model, use acrylic board to build a suitable mold frame. The mold frame material should be smooth material (such as glass, building blocks, etc. If cardboard or wood board is used, wrap the surface with transparent tape first). The poured silicone mold will be smoother and flatter. Seal the joints with tape to prevent liquid silicone from seeping out of the gap after pouring.
Step 2: Fixing the master mold
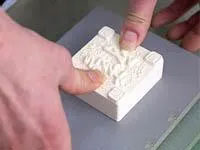
You can use adhesive strips to fix the object model in the middle of the mold frame. If it is not fixed, it will shift or even float after pouring liquid silicone. After fixing it, spray the release agent to facilitate separation and demoulding after the silicone solidifies.
Step 3: Prepare the silicone
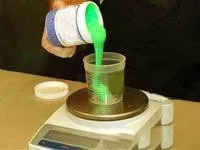
According to the correct ratio of silicone and curing agent, mix the appropriate amount of silicone according to the size of the model. Of course, you can also adjust the curing agent ratio to control the curing speed according to your actual situation.
Step 4: Mix and stir
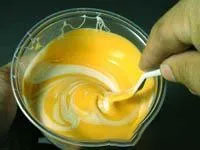
Stir the weighed liquid silicone for the mold thoroughly. If it is not stirred evenly , some of the silicone will not solidify or will not solidify completely, causing the silicone mold to be scrapped. If you need to adjust the color of the silicone, just add the color paste and stir evenly.
Step 5: Apply glue on the surface
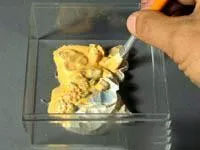
Pour a small amount of silicone and brush it on the surface of the model with a brush. The advantage of this operation is that the silicone can be in close contact with the gaps in the texture on the surface of the model to avoid gaps. This is also a small trick to reduce silicone bubbles.
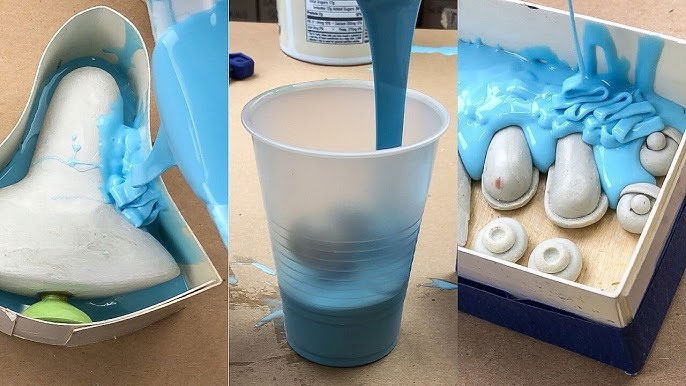
Step 6: Pour in the silicone
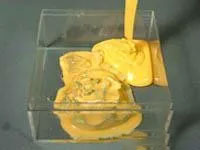
Slowly pour silicone into a point and let the liquid silicone flow naturally in the mold frame. This is also a way to reduce bubbles. Generally, the silicone can cover the highest point of the model by about 2 cm.
Step 7: Wait for curing
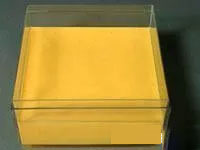
Just place it on a flat surface and wait for it to solidify. Generally, the higher the temperature, the faster the solidification. Of course, it also depends on the proportion of curing agent added when preparing the silicone. When the temperature is below 0°C, the curing agent will lose its activity and it will be more difficult to solidify.
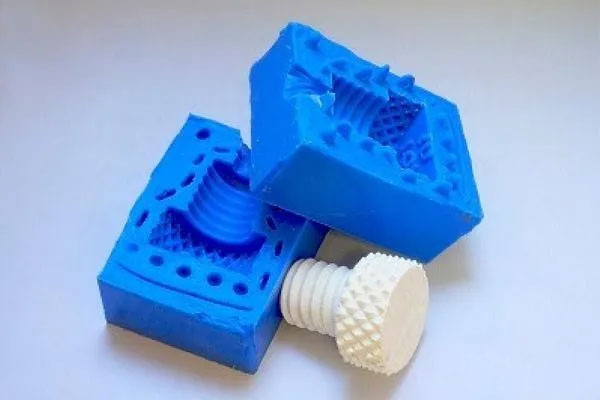
Step 8: Open the mold and take it out
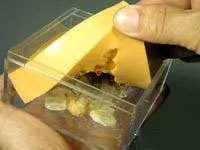
Generally, it can be initially cured in 1-2 hours and completely cured in about 6-8 hours. The curing time is affected by thickness and temperature. After it is completely cured, you can open the mold and take it out.
The above is an introduction to the process of making silicone molds. Of course, there are many ways to make molds, such as pouring molds, split molds, and brush molds. You can follow me to view relevant example tutorials for detailed understanding.