Intro
Machining error refers to the degree of deviation between the actual geometric parameters (geometric dimensions, geometric shapes and relative positions) of the parts after machining and the ideal geometric parameters.
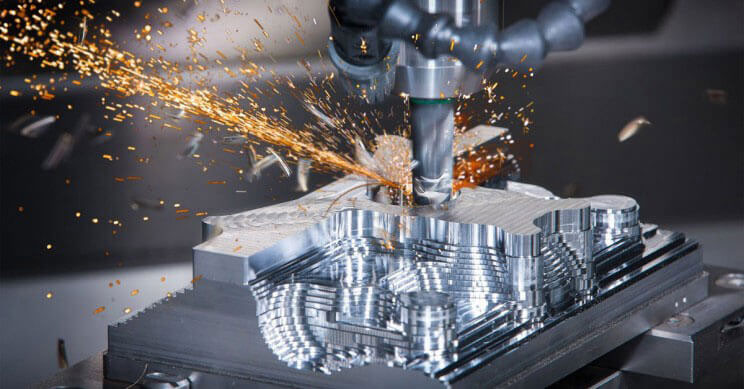
The degree of conformity between the actual geometric parameters and the ideal geometric parameters after machining is the machining accuracy. The smaller the machining error, the higher the degree of conformity and the higher the machining accuracy.
Machining accuracy and machining error are two ways of stating the same question. Therefore, the size of the machining error reflects the level of machining accuracy.
1. Manufacturing error of machine tools
The manufacturing errors of machine tools mainly include spindle rotation error, guide rail error and transmission chain error.
The spindle rotation error refers to the variation of the actual rotation axis of the spindle at each moment relative to its average rotation axis, which will directly affect the accuracy of the workpiece being processed. The main causes of the spindle rotation error are the coaxiality error of the spindle, the error of the bearing itself, the coaxiality error between the bearings, the spindle winding, etc. The guide rail is the basis for determining the relative position relationship of each machine tool component on the machine tool, and is also the basis for the movement of the machine tool.
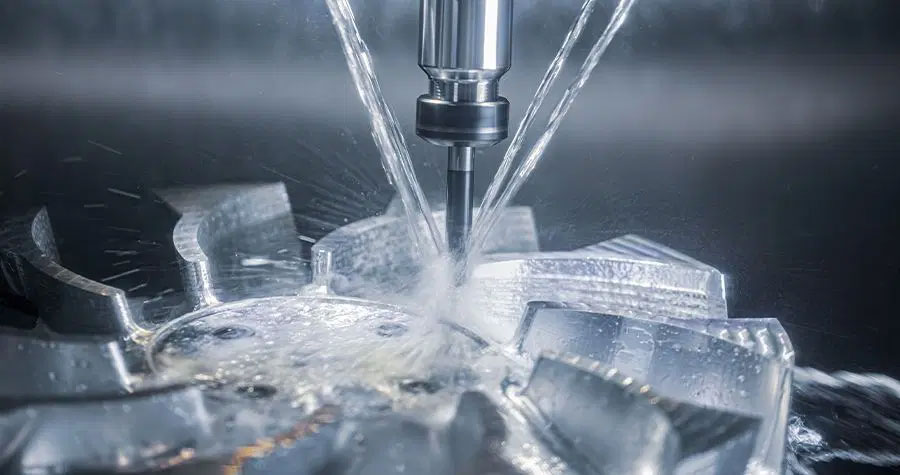
The manufacturing error of the guide rail itself, the uneven wear of the guide rail and the installation quality are the important factors causing the guide rail error. The transmission chain error refers to the error of the relative motion between the transmission elements at the beginning and end of the transmission chain. It is caused by the manufacturing and assembly errors of each component in the transmission chain, as well as the wear during use.
2. Geometric error of the tool
Any tool will inevitably wear out during the cutting process, which will cause changes in the size and shape of the workpiece. The impact of tool geometry error on machining error varies with the type of tool: when using fixed-size tools for machining, the manufacturing error of the tool will directly affect the machining accuracy of the workpiece; while for general tools (such as turning tools, etc.), their manufacturing error has no direct impact on machining error.
3. Geometric error of the fixture
The function of the fixture is to ensure that the workpiece is in the correct position relative to the tool and machine tool. Therefore, the geometric error of the fixture has a great influence on the machining error (especially the position error).
4. Positioning error
Positioning errors mainly include datum misalignment errors and positioning pair manufacturing inaccuracy errors. When processing a workpiece on a machine tool, several geometric elements on the workpiece must be selected as positioning datums during processing. If you want to learn UG programming, you can join QQ group: 304214709 to receive learning materials and courses. If the selected positioning datum does not coincide with the design datum (the datum used to determine the size and position of a surface on the part drawing), a datum misalignment error will occur.
The workpiece positioning surface and the fixture positioning element together constitute the positioning pair. The maximum position change of the workpiece caused by the inaccurate manufacturing of the positioning pair and the matching clearance between the positioning pairs is called the positioning pair manufacturing inaccuracy error. The positioning pair manufacturing inaccuracy error will only occur when the adjustment method is used for processing, and will not occur in the trial cutting method.
5. Errors caused by stress deformation of the process system
Workpiece stiffness: If the workpiece stiffness is relatively low compared to the machine tool, cutting tool, and fixture in the process system, the deformation of the workpiece due to insufficient stiffness under the action of cutting force will have a greater impact on the machining error.
Tool rigidity: The rigidity of the external turning tool in the normal (y) direction of the machining surface is very large, and its deformation can be ignored. When boring a small diameter inner hole, the rigidity of the tool bar is very poor, and the deformation of the tool bar under stress has a great impact on the hole machining accuracy.
Machine tool component stiffness: Machine tool components are composed of many parts. There is no suitable simple calculation method for machine tool component stiffness so far. At present, the stiffness of machine tool components is mainly determined by experimental methods. Factors affecting the stiffness of machine tool components include the influence of contact deformation of the joint surface, the influence of friction, the influence of low-rigidity parts, and the influence of clearance.
6. Errors caused by thermal deformation of the process system
Thermal deformation of the process system has a great influence on the processing error, especially in precision machining and large-scale machining. The processing error caused by thermal deformation can sometimes account for 50% of the total error of the workpiece.
7. Adjustment error
In every process of machining, the process system must be adjusted in one way or another. Since the adjustment cannot be absolutely accurate, adjustment errors occur. In the process system, the relative position accuracy of the workpiece and the tool on the machine tool is guaranteed by adjusting the machine tool, tool, fixture or workpiece. When the original accuracy of the machine tool, tool, fixture and workpiece blank meets the process requirements without considering dynamic factors, the adjustment error plays a decisive role in the machining error.
8. Measurement error
When measuring parts during or after processing, the measurement accuracy is directly affected by the measurement method, measuring tool accuracy, workpiece, and subjective and objective factors.
9. Internal stress
The stress that exists inside a part without external force is called internal stress. Once internal stress is generated on a workpiece, the workpiece metal will be in an unstable state of high energy. It will instinctively transform to a stable state of low energy, accompanied by deformation, causing the workpiece to lose its original processing accuracy.


